1. Positioning Is Everything
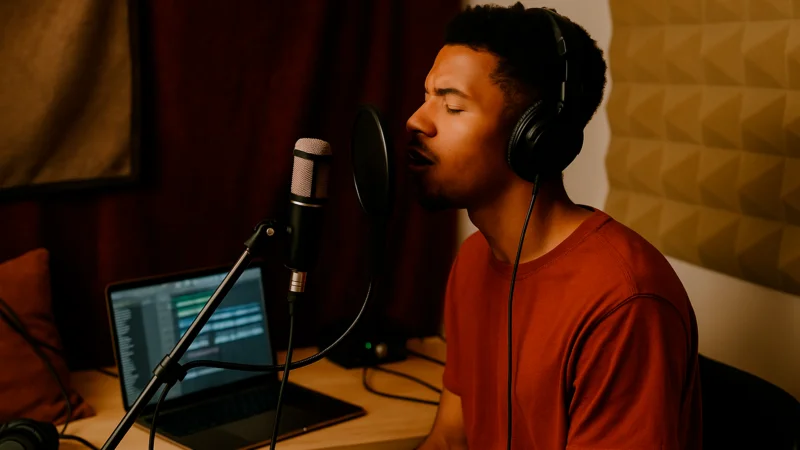
One of the most overlooked vocal recording tips is mic placement. Even small changes in distance or angle can make your vocals sound muddy, too bright, or full of room reflections.
- Distance: Stay about 6–10 inches from the mic. Too close, and you’ll get harsh plosives and low-end boom. Too far, and you lose presence.
- Angle: Slightly tilt the mic off-axis (around 20–30°) to reduce sharp consonants without dulling your tone.
Pro tip: Record a few test takes at different distances to compare the results.
2. Use a DIY Pop Filter
You don’t need to buy a fancy pop filter to control plosives (those “P” and “B” sounds that cause distortion). One of the most practical vocal recording tips is building your own with:
- A wire hanger and a pair of tights/stockings
- An old embroidery hoop
- Even a sock over the mic (in emergencies)
Pop filters help keep the air pressure from your mouth from hitting the mic capsule directly which reduces harshness and keeps the sound smooth.
3. Treat the Room — Not Just the Mic
Room reflections can ruin a take, no matter how good your performance. That’s why so many vocal recording tips focus on acoustic treatment.
Here’s how to do it without spending anything:
- Blankets and pillows: Line your recording area with thick blankets, couch cushions, or duvets.
- Closet booth: Record in a walk-in closet with hanging clothes it’s one of the most underrated hacks.
- Mattress booth: Place a mattress behind you (the vocalist), not just behind the mic.
Avoid recording near reflective surfaces like glass or bare walls. The more absorption, the cleaner your take.
4. Gain Staging — Don’t Clip Your Take
No list of vocal recording tips would be complete without talking about gain. If your input level is too high, your vocals will distort. If it’s too low, you’ll introduce noise when boosting it later.
Aim for your loudest peaks to hit between -12 dB and -6 dB on your input meter. This gives you enough headroom while keeping your take clean and full.
5. Eliminate Background Noise
Even budget mics can sound good if you manage your noise floor. Here are a few essential vocal recording tips for reducing unwanted sounds:
- Turn off fans, AC, or buzzing lights before recording.
- Use a noise gate (like ReaGate from ReaPlugs, free).
- Mute all unused tracks and disable monitoring from other channels.
- Record at night or early in the morning when it’s quiet.
A clean take = less fixing in post.
A few free tools can go a long way in polishing your vocal takes. Some highly recommended ones for vocal recording tips include:
Final Thoughts: Your Mic Is Good Enough
At the end of the day, vocal recording tips are about mindset and technique. No matter what mic you own, if you follow the steps in this guide positioning, pop filter, acoustic treatment, gain control, and noise management you’re already ahead of most beginners.
Practice. Test. Listen. Improve. These steps will do more for your vocals than any expensive gear.
Want Better Vocals, Faster?
I work with independent artists to improve their sound, organize sessions, and get clean, emotional vocal takes even from a home studio.
Click here to work with me and let’s bring your voice to life.